Thursday, December 17, 2009

some x mas gifts


I crocheted all these cute lil creatures as x mas gifts in amigurumi style. They are so adorable.


Thursday, December 10, 2009

Amigurumi gifts


Here's one of the many gifts I've made by hand so far this Christmas.

Monday, November 30, 2009


"Peekaboo" says Bumpiddy Doo!


During the Victorian Era it was common for girls and ladies to make things by hand as gifts, such as doilies, back splashes for vanities, etc. Recently I've discovered a Japanese style of crochet called Amigurumi. So I am designing all of my gifts in this style of crochet! Bumpiddy Doo is a gift I have just finished for my sister, it is a surprise so I will not post complete photos of him till after she has received him.


This is an illustration from the cover of 'Illustrated London News' 1876.


This is an anonymous illustration of a mother and child making gifts.

Friday, November 20, 2009

Sunday, November 15, 2009

fake daguerreotype

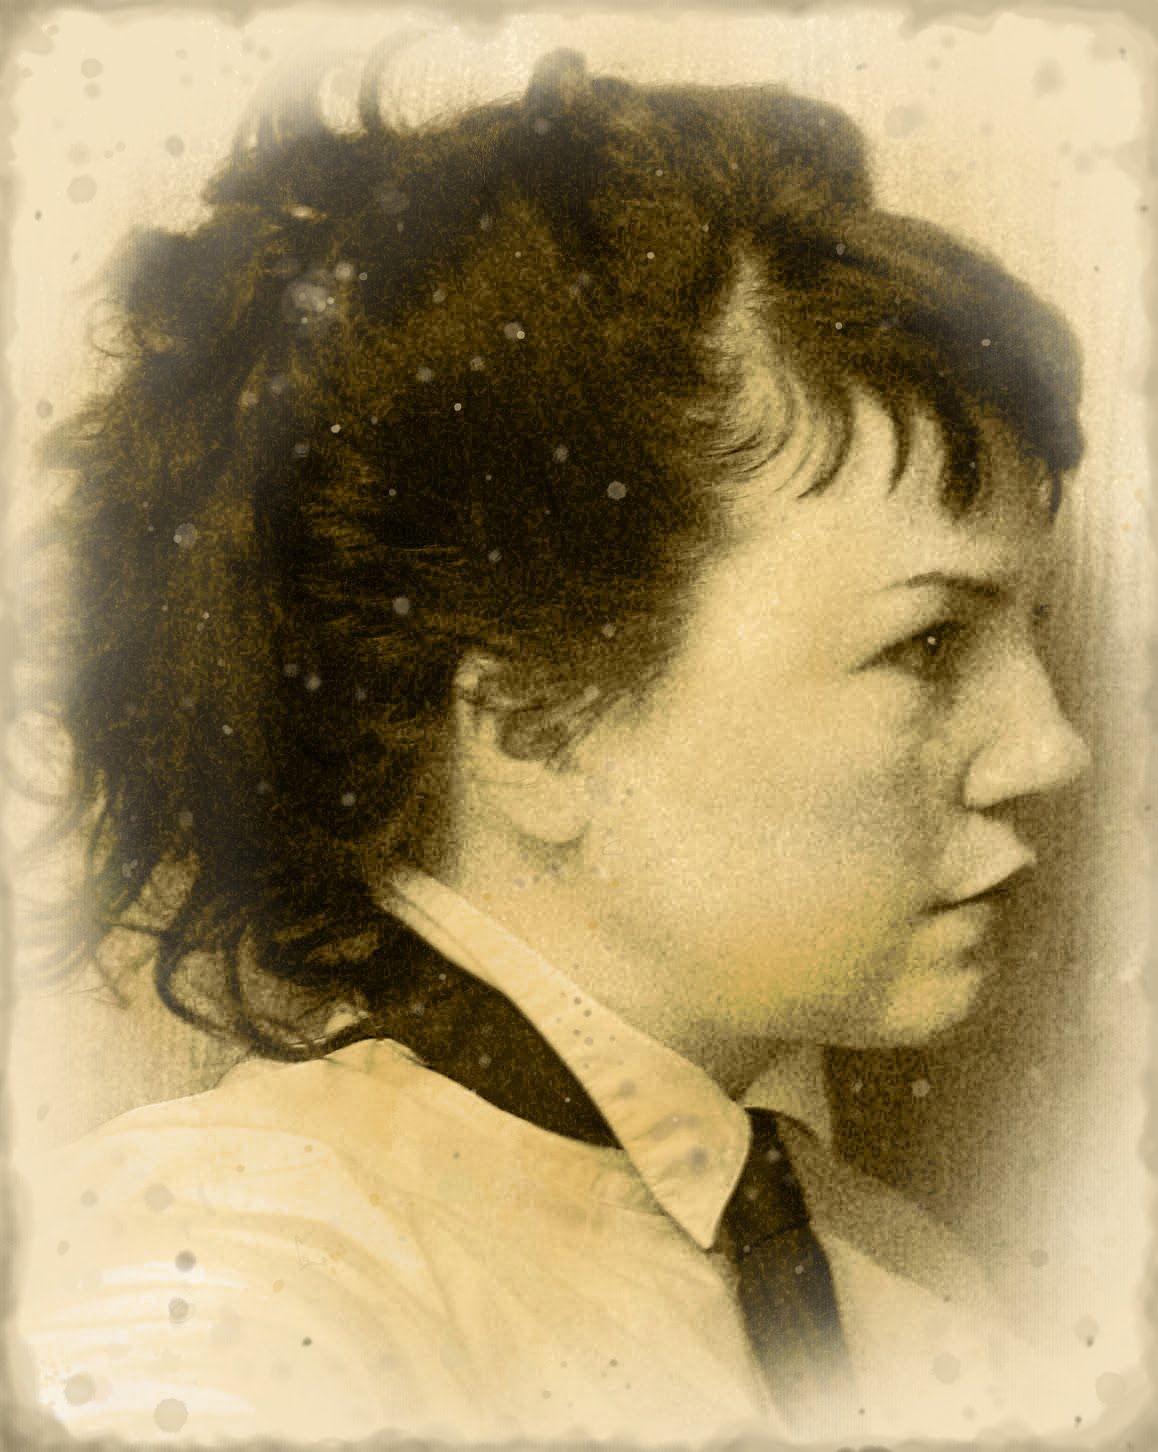
This is a CDV/daguerreotype image transform I did recently for a photographer in the Netherlands.

Here is my portrait as a daguerreotype also.


Saturday, November 14, 2009


This is what the original photo looked like before I transformed it with my trickery.


Newer version of my moldering antique portrait, was going for that musty Carte de Vista look or fungus riddled cabinet photo.

Thursday, November 12, 2009

1880 bustle bodice repro

This is a shot of me making the pleats for the bodice hem.  I used 100% cotton duct, basically black canvas I wanted the garment to be durable and washable.


The following is my adaptation of the 1880 bodice pattern I found at www.koshka-the-cat.com


Detail of buttons and buttonholes.

I decided to use pleats instead of tabs like the original.


Back panels.


The finished bodice with my beautiful kitty's fur all over.

Monday, November 9, 2009

Steampunk embroidery stuff "stitchfinger"


An idea I came up with after picking up embroidery again recently. The project took me a few days, and it was quite painful at the end of the day. So I thought of these. Have yet to make them.
www.koshka-the-cat.com

A website by an amazing seamstress. I am currently recreating this pattern
here.

I will post photos later.

Sunday, November 1, 2009


I found this wonderful book at the library. "Victorian Women's Fashion Cuts" selected and arranged by Carol Belanger Grafton 1993 Dover Publications


www.VictorianNonsense.com

Friday, October 30, 2009

Step eight: Continue around the first two stitches [petals] to make the rest of the rose.

Step seven: Making more petals for bullion rose.

Step seven: Finish coil with a stitch where the coil ends.


Step six: Use needle to arrange coils as you tighten the thread.
Step five: Stabilize twirled thread as you tug the last of the thread so it coils nicely.

Step four: Nearly finished with pulling thread through the twirled thread.


Step three: Stabilize thread twirled around needle with finger while pulling thread through.

Step two: twirl thread around needle 5 times.

Step one.

Wednesday, October 28, 2009

Skirt hem border.

Hem design map.


Embroider design detail, I use the bullion rose [bullion knot] for the hem, not sure what to call the stitching that makes up the square? I just made it up as I went along.

Tuesday, October 27, 2009


Step one: Lay out your pattern to be modified upon newspaper or craftpaper to make your new pattern.

Step two: Put important info on new pattern! Like darts, zipper placement, etc.

Step three: After making the adjustments needed cut it out.

Here are the front, back, and waistband for the victorian mod. skirt.

This is a shoddy sketch of the modern skirt pattern and the victorian modification I wanted to make. I hate drawing with a mouse.

Step five: Make ruffles to add to the bottom of skirt. I needed to make two layers of ruffles. A 16" and a 12". Here is the 12". I used a nearly 1/8 " shirt tail hem for this layer of ruffles as they would be most visible.


Step six: Here I am using a zigzag stitch to attach the 16" ruffles first. As you can see I used two rows of straight stitching to make the ruffles, more strength so the thread wont break so easily as the fabric does have some weight to it.


This is what the 16" bottom layer of ruffles looks like after attaching to raw edge of skirt and removing the bottom row of stitches that gathered the ruffles.