I made this for my lil niece, the bears hat comes off and can be worn by the lil child. I'm planning a boy design also. Maybe with little boats on the hat or stars. This version has crocheted black roses on it.

Steampunk-Victorian style children's clothes for adults, facts & fictions from a bygone era
I made this for my lil niece, the bears hat comes off and can be worn by the lil child. I'm planning a boy design also. Maybe with little boats on the hat or stars. This version has crocheted black roses on it.
 Just came up with a cute little hat for newborns with leftover yarn I didn't want to waste.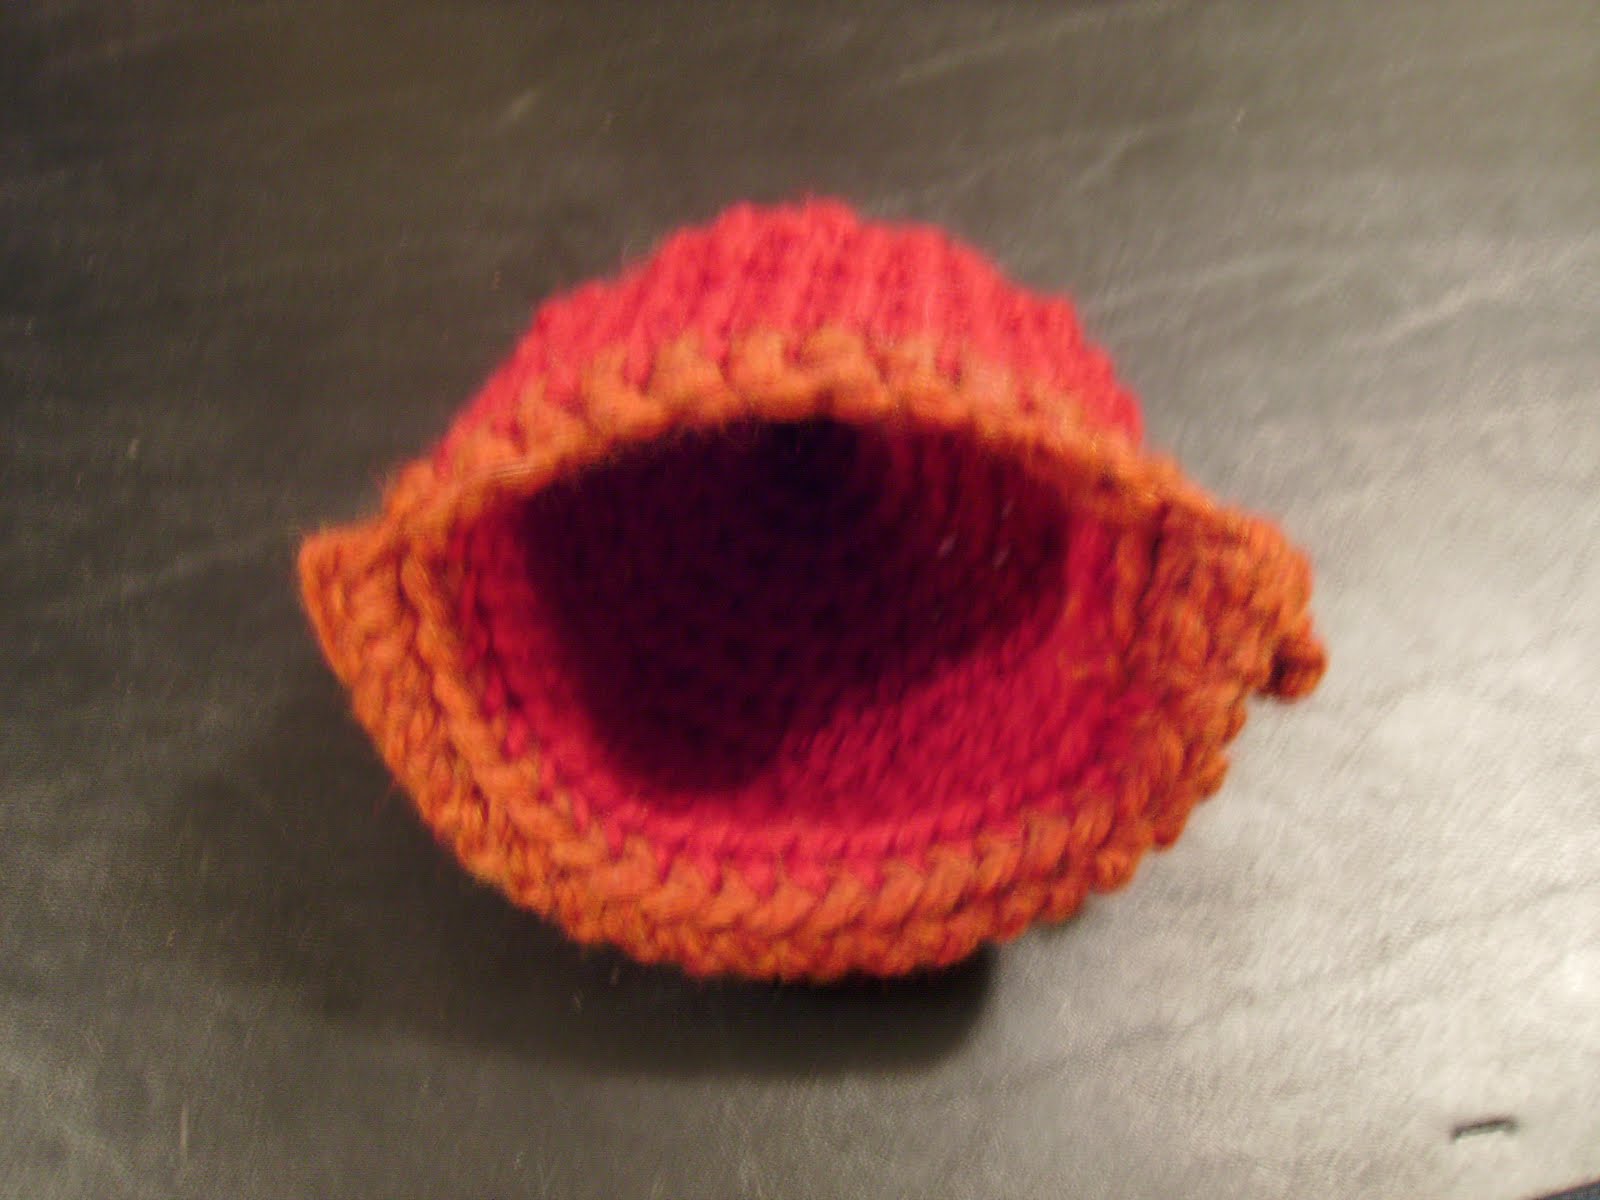


 It looks kinda like something a Sherpa would wear.


 This is an anonymous illustration of a mother and child making gifts.
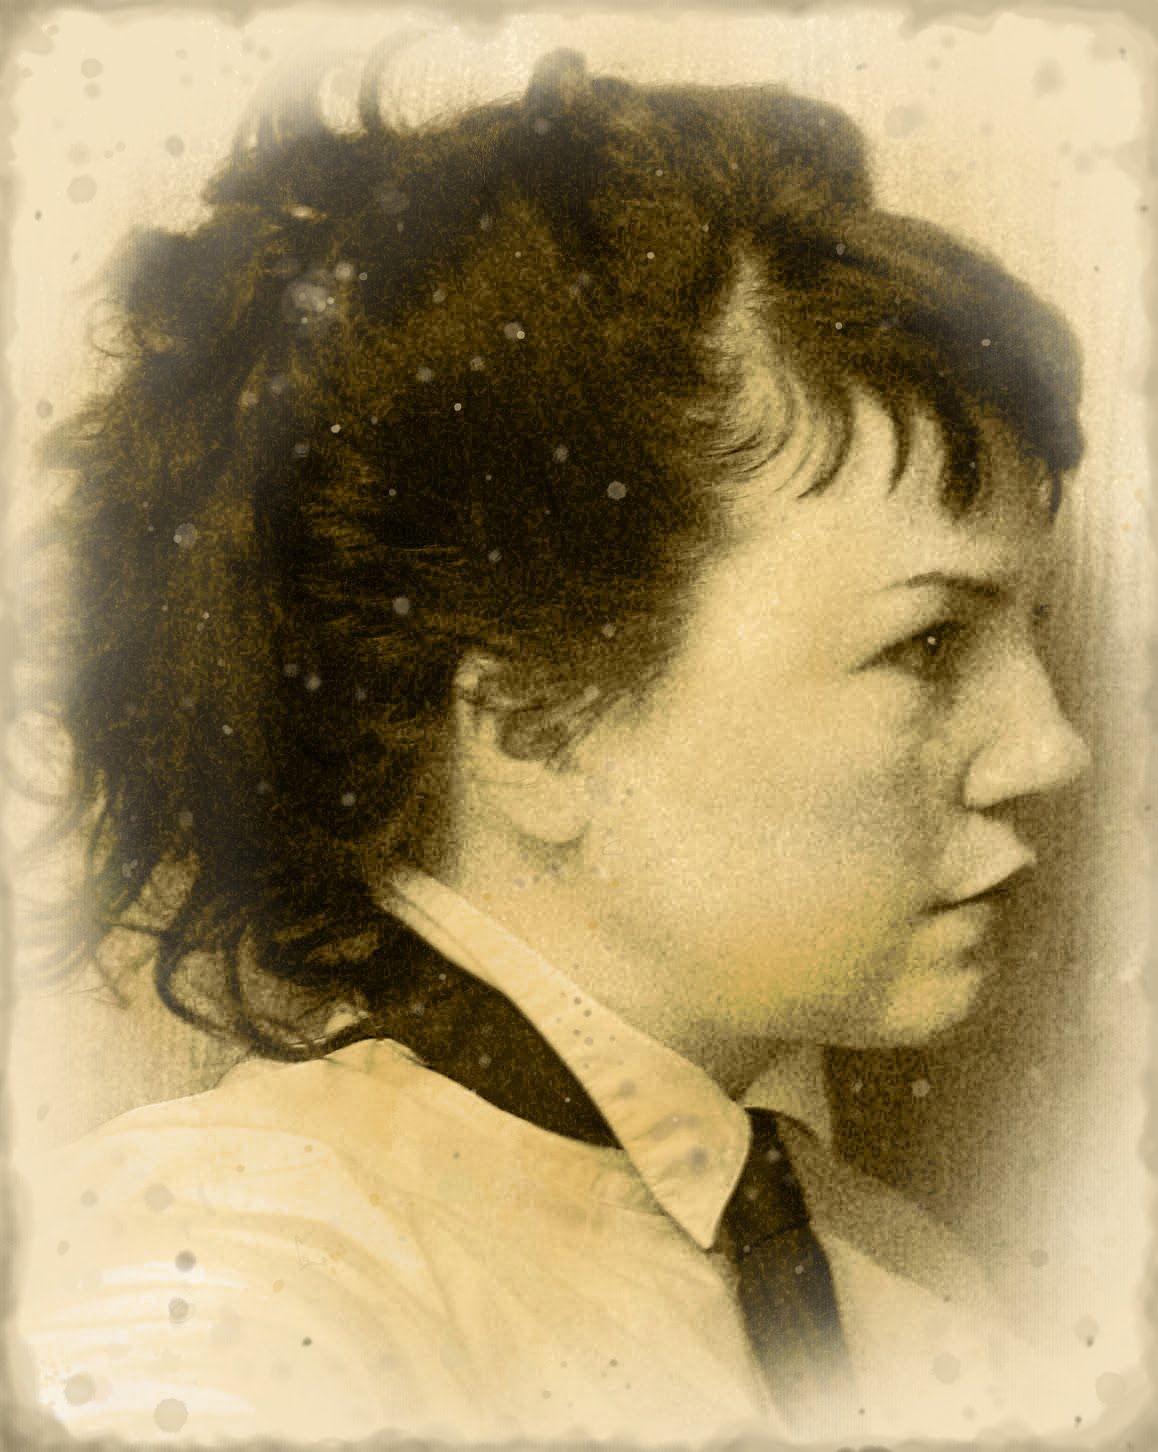
 This is a CDV/daguerreotype image transform I did recently for a photographer in the Netherlands.


 Step five: Stabilize twirled thread as you tug the last of the thread so it coils nicely.
 Step four: Nearly finished with pulling thread through the twirled thread.
 Step three: Stabilize thread twirled around needle with finger while pulling thread through.
 Step two: twirl thread around needle 5 times.
 Step one.