Saturday, December 11, 2010

punk rock Victorian childrens ruffled skirt

This little girls dress was my inspiration for this design.


punk rock version of the Victorian children's skirt

I have no idea what the fabric is. Some weird satin that I preshrunk, purposely, because I always PRESHRINK, and I like to be surprised by the fabric after washing it to see what happens to it. 

I prefer the more intense textures of many dryclean only fabrics after machine washing them 0.o call me crazy. lol They are so unique.


Here are a few steps to illustrate adding ruffles to a simple a line skirt:


Adding ruffles to the skirt:


Here I have begun to pin the 1st layer of ruffles to the skirt 1/4 section at a time. I describe this in detail in my post here.

After you make your division marks on the skirt and the ruffles you will want to provide excess thread for gathering when sewing your basting stitches onto your ruffle fabric between every section. You don't want to make one long straight stitch for gathering ruffles, it will break and unravel all your ruffles. So smaller sections make it easier to gather ruffles with out thread breakage.
Here you can see I am gradually pulling the excess string I left when applying basting stitch, for those of you who have yet to make ruffles by hand patience is key!  Go slow and gently, if you pull hard the thread may break and you will have to baste stitch again. ;)

Stitching on the ruffles after hand-basting the finished ruffles onto the skirt with white thread.  I think ruffles are more flattering added at the hip line rather than just below the navel.


Trim details:

Added bias tape trim to cover where ruffles are stitched onto skirt and made bias tape trim with leftover fabric to make the bias tape trim fancier.


Waistband improv:

Here you can see I've stitched two pieces of single fold bias tape to make it wide enough for a waist band. You can just buy double fold bias tape for this, I didn't have it on hand and used this method instead.


Here you can see the finished side of my bias tape waist band and the under side. You will want to iron flat the edges that will be stitched together and then iron them back to their previously folded state after stitching together as you see here.
I am adding the bias tape waistband here.  I finish off the waist band by leaving one side 2 inches longer than the other, fold half under and finish tab,  and stitching in a hook and eye to fasten above the zipper.

Thursday, December 2, 2010

Victorian Nonsense screensaver

This is a background I made. I used Darwin for Victorian Nonsense because he was full of it! "n_n"

To save right click and select 'save image as' etc...

Sunday, November 21, 2010

"Victorian" style bloomers mod for pants

I made a pair of bloomers from some pants of mine I had already made a while back. This mod will work with stretchy material [like the type I use here] or whatever lightweight fabric you may have.


Here are the steps I took:

I cut the pants off at 22" down from my waist and over locked the raw fabric edge at the knee.  Since the fabric was stretchy I pulled it taught while applying a zig zag stitch and it makes the edge very curly as you can see here.


I marked all about the circumference of  of the knee , inside out of course.  I marked the pants inside every 1/4 of the way about & 3" from edge for elastic.


Here you can see how it appears after applying the elastic, make sure you pull the elastic and fabric tightly to achieve this.


Here is the finished pair of bloomers that were once wide leg pajama pants.

Friday, November 19, 2010

Make your own "Gothic Lolita/Kuro Lolita" inspired ruffled skirt

I know true 'Loli's' wouldn't call my mod Lolita, it needs to be bell shaped with a pannier to be true Lolita I suppose.  But it's lovely nonetheless. Let me know.

I recently saw this at fanplusfriend.com and had to redesign it and make a version for myself.


 Here are the steps I took.

First I made an a line skirt


Here I have marked in my sketch how much shorter I made the skirt to make room for my sheer treatment at the hem. At the end this of post you can see this sheer trim in detail.


Then I measured from my waist line to where my hip bones were and marked that on the skirt all the way around to the back.

Here you can see I am adding a layer of 3 tiered ruffles I have made at the hip bone line. I will show how to make a layer of 3 tiered ruffles shortly.


The first step to make the layers is to cut out the panels [about 4x's the width of your skirt] and finish the edges. Here you can see I am applying a very narrow zigzag stitch to the edge of a soft sheer nylon fabric. Loosen the pressure on the foot and use the proper needle when working with this type of fabric it WILL matter, an 80/11 size needle will do.


I have measured and laid out the first two layers. If you want densely packed ruffles I usually measure the width of the layer nearly 4x's the width of the skirt.  It is better to err on the side of caution and have far too much ruffle than less after all this trouble.


Here is the last top most layer. Finishing the edges of all the layers is the most time consuming part, unless you have a serger.


If you look closely you can see I did not finish the edge at top where the layers met.


Here you can see how they are layered prior to pinning.


You want to mark where the first layer falls so you can have a line to pin the second layer, you want it to hide just beneath the edge of the first layer of ruffles.


You can hand stitch or just do a wide straight stitch on your machine. Knot the ends leave enough length on thread to pull when you are finished stitching, use very good thread or the weight of the fabric will break the thread and you will unravel your ruffles.


A note about ruffles:
I find that a narrow zigzag finished edge lets the ruffle look smoother as opposed to a shirttail hem which lends to the ruffle having a very stiff appearance.  Below you can see the first layer of ruffles has two tiers with a shirttail hem with the rest finished with a zigzag stitch.


Above: this photo illustrates where the layers are stitched, just beneath the edge of the layer above it.  I will finish the edges with basting tape to cover up the threads.  The white string is from my hand basting that I will remove now that I have sewn the ruffles on by hand.

I used three different types of black fabric to add interest, as you can see under a flash the different shade of black in 1 layer is obvious, if you are going to use your item in a photo shoot with flash photography this is something to consider during the design of your garment!

Personally I do not care if all my blacks match, I think it looks better to have some variety in the hues of black.

For the original skirt on fanplusfriends.com they use a very thin light cotton fabric/cotton broadcloth/muslin which provides the stiff fullness, but I prefer to use fabric which is softer and has a lot of weight to it, so it has a very fluid movement to the skirt as opposed to the stiffness of thin cotton fabric.  It depends upon your tastes, the other layers of this skirt are a heavy synthetic rayon/woven fabric which I prefer for it's weight and bounce when moving about.

I have yet to add the waist band and zipper, I will update post as soon as I am finished with this item.


Here is a close up of the sheer panel with bias tape trim I added to the hem that I had shortened.


Thanks, R.


Here is the completed item after I finished the waist band. I added hem lace to the 2nd layers stitching.


Here you can see I've added my pleated under skirt instead of a proper pannier/petticoat with a pair of bloomers knee hi's and Victorian Junior Girls style boots.


Here the last tier of sheer fabric trim is lifted to illustrate the layers.


Friday, July 23, 2010

baby bear with cap for child to wear


I made this for my lil niece, the bears hat comes off and can be worn by the lil child. I'm planning a boy design also. Maybe with little boats on the hat or stars. This version has crocheted black roses on it.

Saturday, May 29, 2010

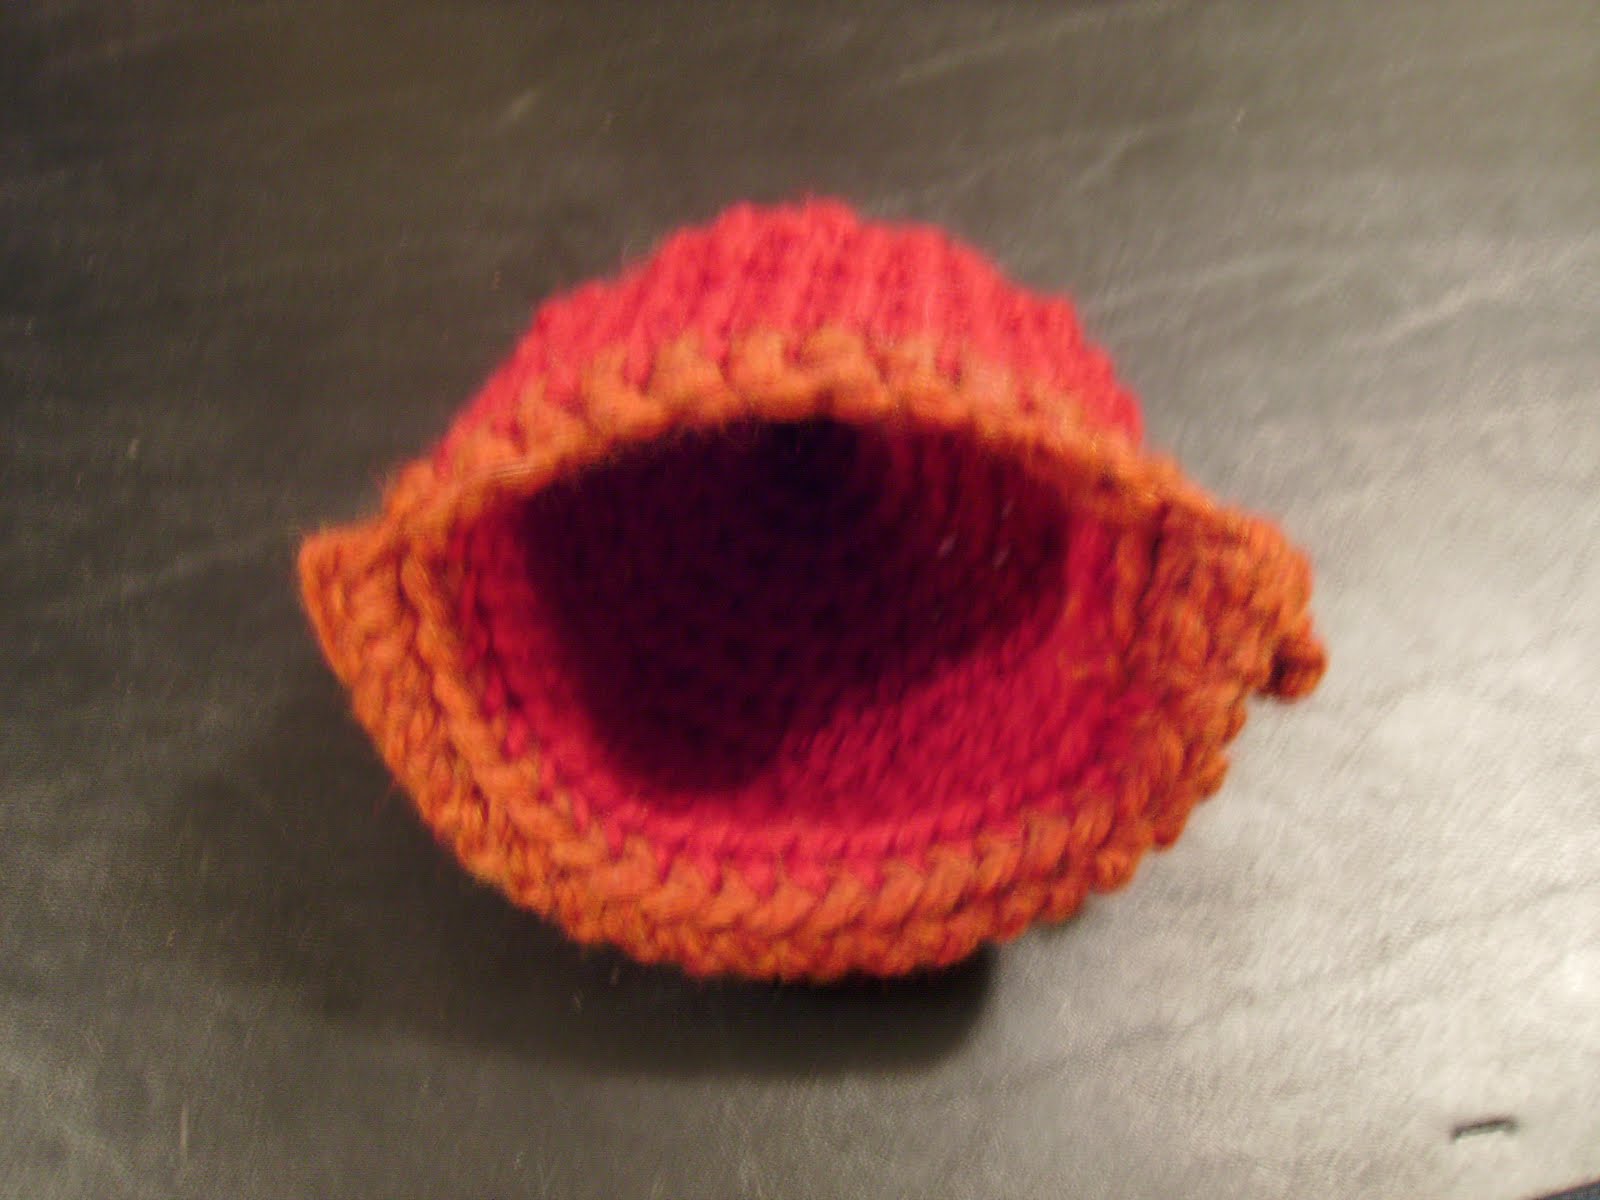
Knit Baby Caps

Just came up with a cute little hat for newborns with leftover yarn I didn't want to waste.


Here the ear flap is folded up, you can see the inside of the hat:


Here the ear flap is down:

Here is the hat with ear flaps up from the front view:

Here with earflap's down from the side, sortof:
It looks kinda like something a Sherpa would wear.

Saturday, January 16, 2010

finish these darn sleeves

Here is the sleeve after the bias tape was sewn on. Looks so much better.


Sleeve prior to bias tape.

Sunday, January 10, 2010

Amigurumi


These are my latest pets for sale on ebay under seller name: knightlife999

Tuesday, January 5, 2010

x mas gifts


Here's some of the gifts I made by hand for loved ones this past x mas.